
DIY - Sew Your Own Fabric Coasters
Today I am going to share with you a simple project that you can do in just an hour or two. I was inspired by my friend Zoica who gave us a tutorial on Two Creative Women back in 2013.

I used fabric left over from other projects - the chevron was left over from the window treatments I just finished for my daughter's nursery and the French script fabric was left over from a chair I recently had reupholstered.
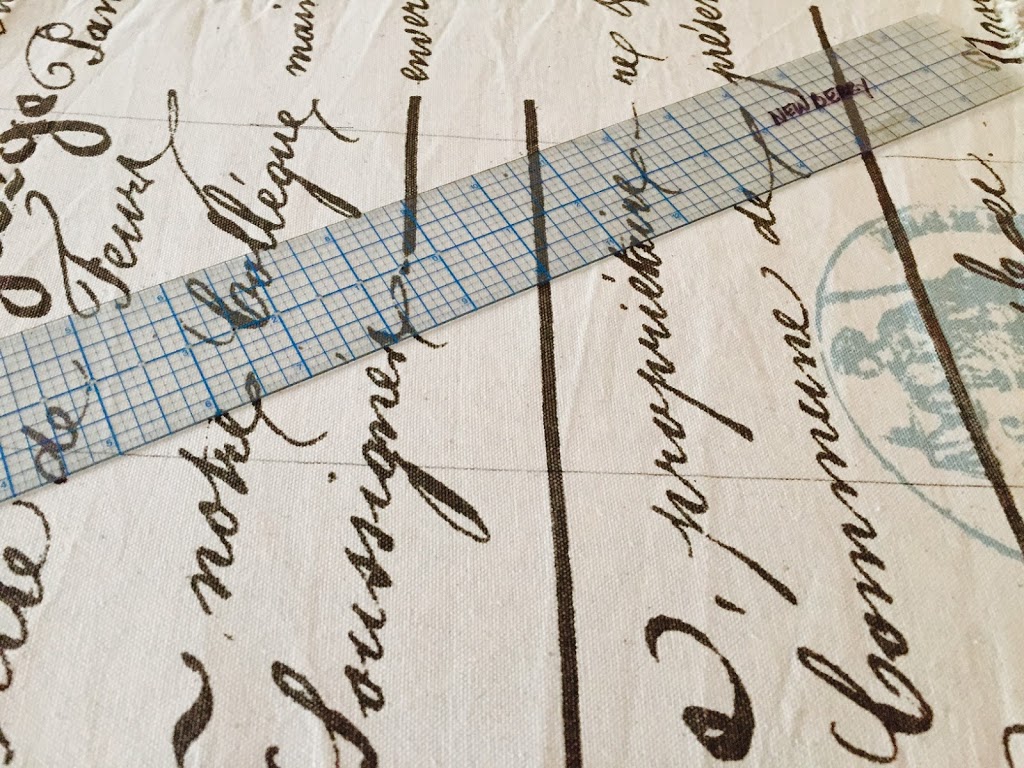
The first thing that I did was to wash the fabric so that they wouldn't shrink later! After ironing the fabric, I cut out 5" squares using a quilter's ruler and a magic marker.
Next I cut out 5" squares from some batting I had left over. You can buy it by the yard or package at your local fabric store.

Next put right sides together and add the batting to the top. I used four pins to hold everything together and sewed around the square leaving about 3 inches open to turn it right side out.


Next trim the corners and you're ready to turn.

Press flat.

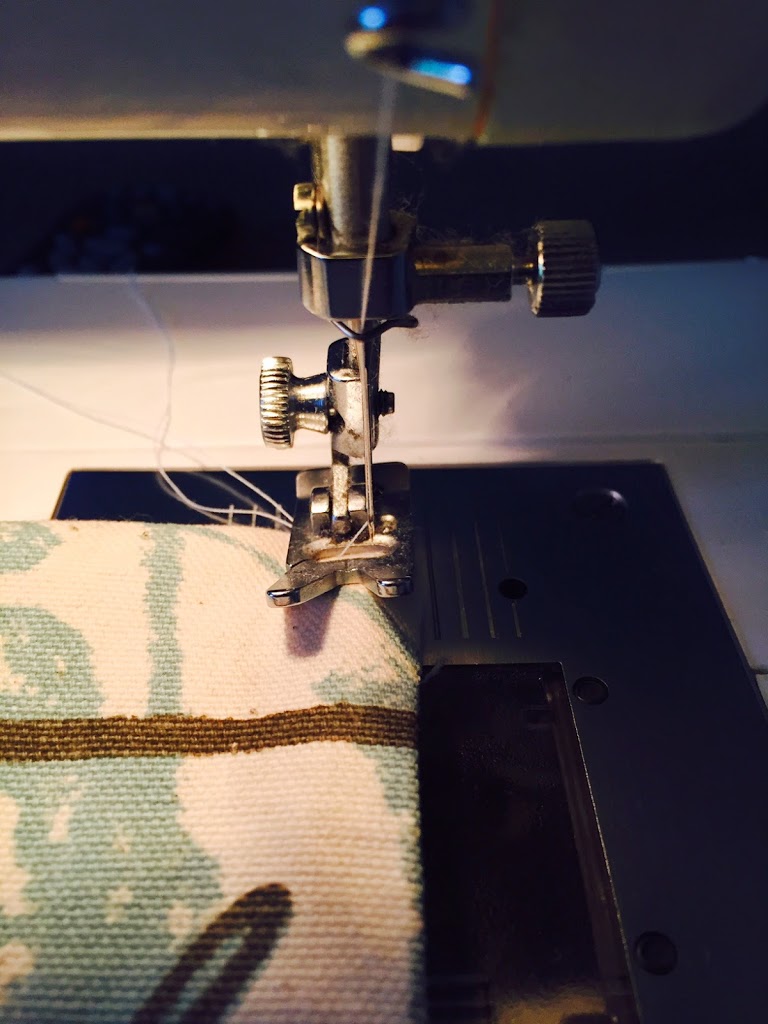
Sew around the edges about 1/4" from the side. If your sewing machine allows you move your needle, it will be easier if you move your needle to the right. No need to sew the open seam as long as you make sure to catch the loose ends inside.
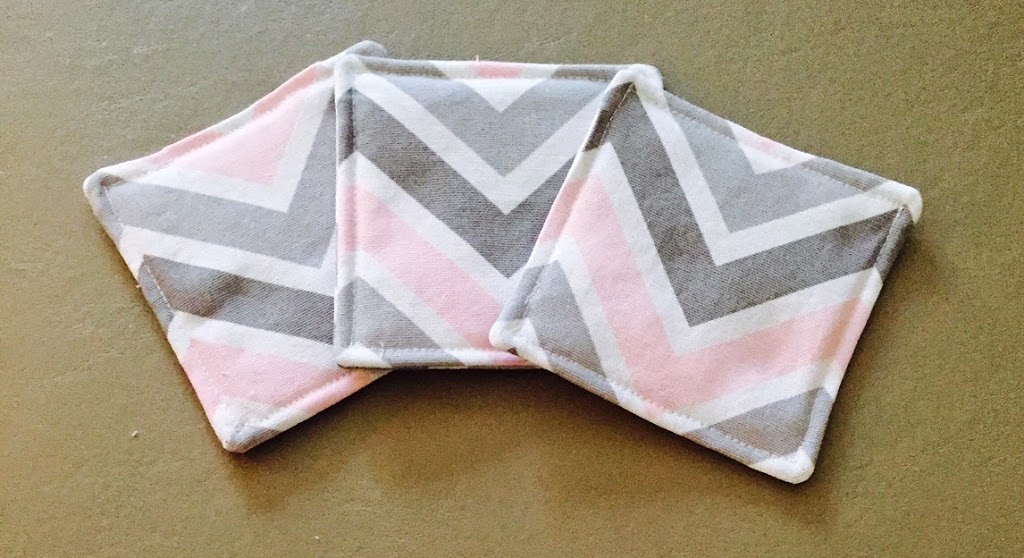
And that's it! You now have finished coasters that can be thrown in the wash to clean. Make several and give them away as gifts!

Have a DIY project that you'd like to share. Just drop me a note and I'll share it here.
Thanks for stopping by...
Until next time,
