DIY - How to Sew a Designer Pillow using Welt Cord

DIY

If you have a sewing machine and a zipper foot, you can make a designer pillow with welt cord.  In this tutorial, I am going to show you step-by-step how easy it is to make this pillow.

Here is what you will need:

Fabric - I used leftover fabric, buy about 1 yard if you are buying new.

Pillow form - Mine is 14 x 28 and I purchased at Joanns for 50% off.

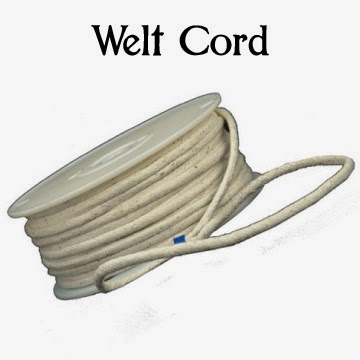
Cording - also called piping and welt cord; you can buy this by the yard or packaged.

You have all your supplies, what next?  First thing you do is to cut out your pillow.  Add 1 inch to the size of your pillow form.  Since mine was 14 x 28, I cut my fabric to 15 x 29.  This allows for a half inch seam allowance all the way around.

I like my corners rounded so I trimmed them using a circle pattern.  You can also use a kitchen plate.  Here's a tip: Rounding your corners makes it easier to apply cording!

Next cut out your strips for welt cord.  It is important to cut these strips on the bias.  What's that, you wonder?  That means that you cut your strips diagonally.  You'll have several strips so make sure you sew them together.  Measure around your pillow so you have enough.

OK, now what? Attach your zipper foot to  your sewing machine.  They're not just for attaching zippers!  If you pin your fabric around your cord, it will be much easier to control.

 
Once your welt cord is sewn, attach it to one of your pillow pieces - place right sides together.  Start at the bottom of the pillow.  I recommend using pins here as well. 
 
Here are some easy tips for sewing welt cord: 
  • Start sewing the cording leaving about one inch loose (this will help with joining the beginning to the ending).
  • Continue to sew joining the piping to the fabric. You might want to snip the seam in the corners - that makes it easier to sew in a curve. 
  • As you approach the starting point, trim the cording as needed and turn over the fabric for a nice clean look.
  • Another option is to sew the cording into the seam allowance.  When you finish up, as you approach the starting point, place the ending of the cording over the starting point and dip it into the seam allowance. This allows for a continuous visual line of piping on the outside of the seam allowance.

     With a little practice, you can get it!

     
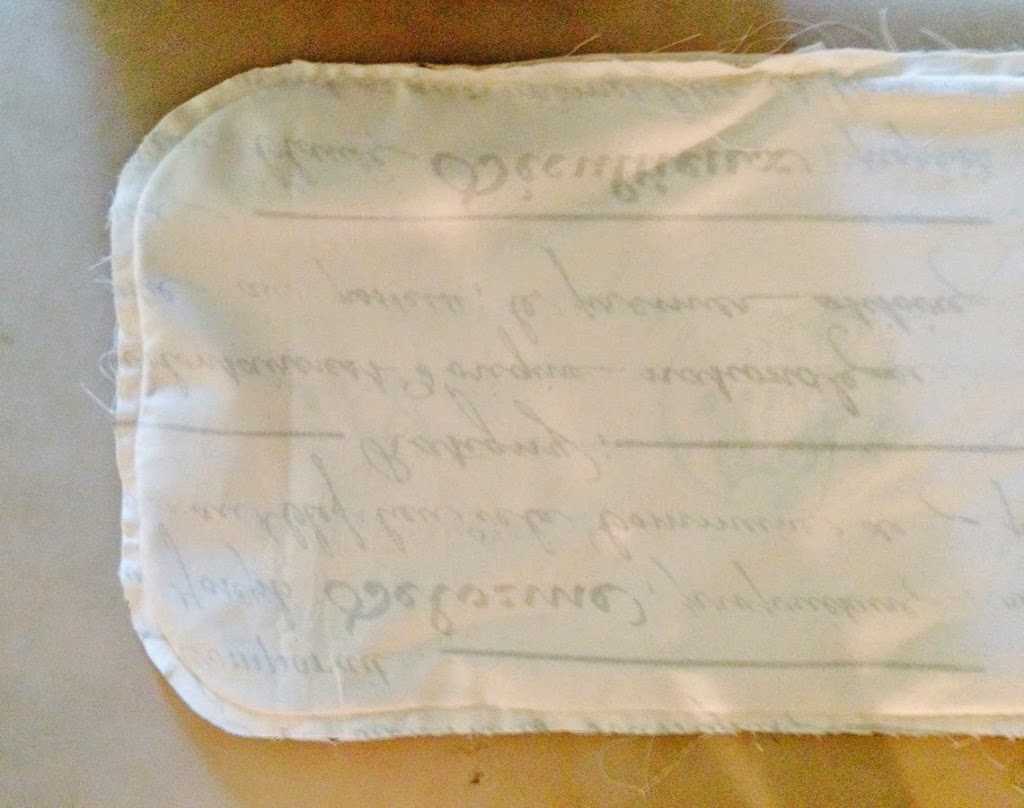
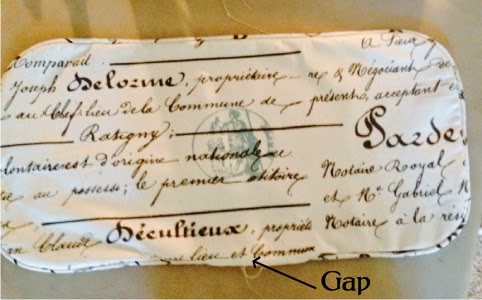
    Next sew the pillow front and pillow back together.  Don't forget to leave a gap at the bottom of about 6 - 10 inches so you can insert the pillow form.


    Trim any loose threads, snip corners if needed and turn inside out. Press.

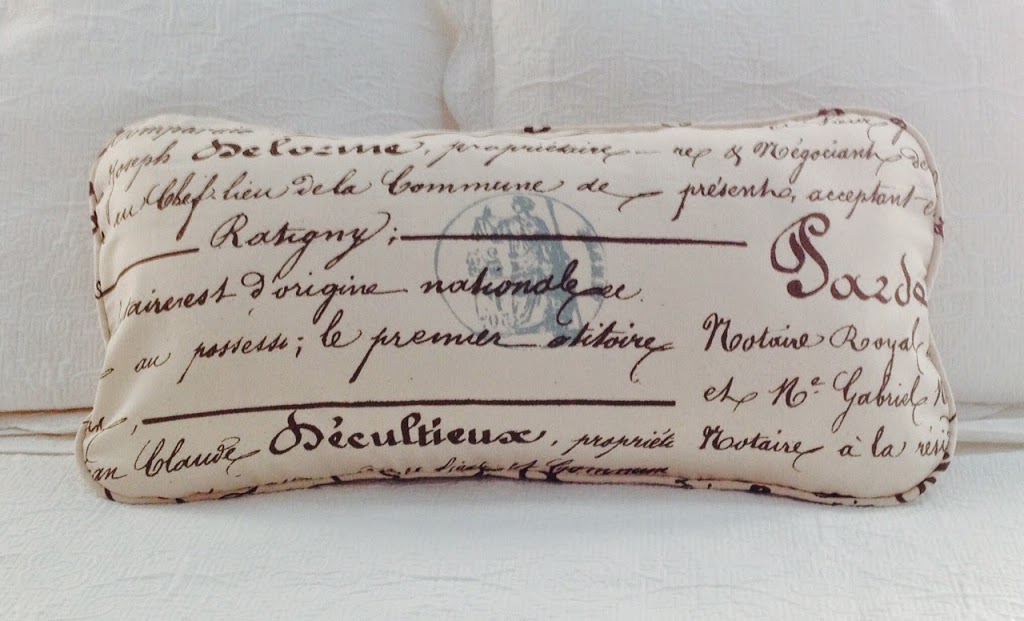
    Stuff with your pillow form and sew the gap shut by hand.  There you have it - a beautiful designer pillow.  I made this one for my daughter.  Here it is on her bed.

     
    What do you think?  Looks good, don't you think?  Will you try it?  Let me know if you do; I'd love to hear from you.
     
    Thanks for stopping by...
     
    Until next time,


    Follow
    Susan Newberry

    Hi, I’m Susan! I’ve spent the last 10 years building my online company. I’ve always loved everything to do with design. In fact, after raising my kids, I decided to go to school and get my degree in Interior Design. While running my own interior design company, I started teaching and found that teaching was what I really loved. Combine that with Interior Design and well, you could say I was on cloud nine. I always loved the technical side of design which led me to graphic design and after studying graphic design, I was encouraged to open an Etsy shop to sell some of my creations. With my attention to detail and being somewhat of a perfectionist, graphic design made perfect sense. In December of 2018, I decided to retire from teaching and devote myself full time to my business and I haven’t looked back since! I love designing art for the home and would love to create something special for you.

    It’s true what they say, “Love what you do, and you will never work a day in your life.”

    https://www.susannewberrydesigns.com/
    Previous
    Previous

    Etsy Artist of the Week - Rainnua

    Next
    Next

    Etsy Artist of the Week - Nancy Q Art