
DIY - Decorating Children's Room - Decoupaging a Dresser
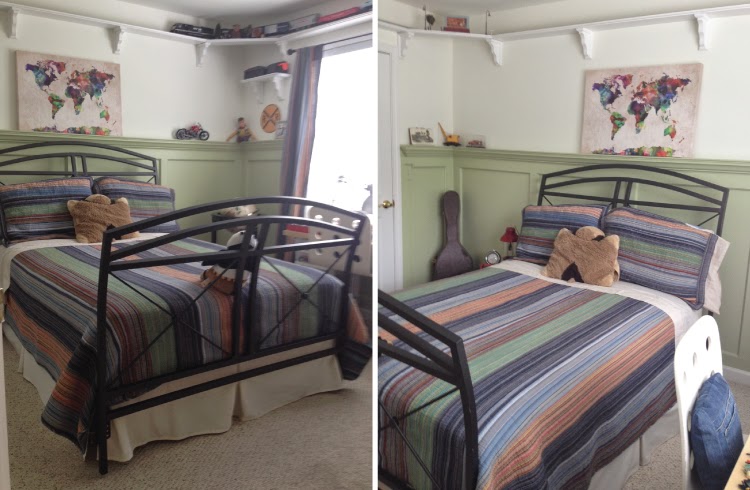
Well I showed you my granddaughter's finished room and now it's time to share with you Anthony's finished room.
I will also show you how to decoupage a dresser top.
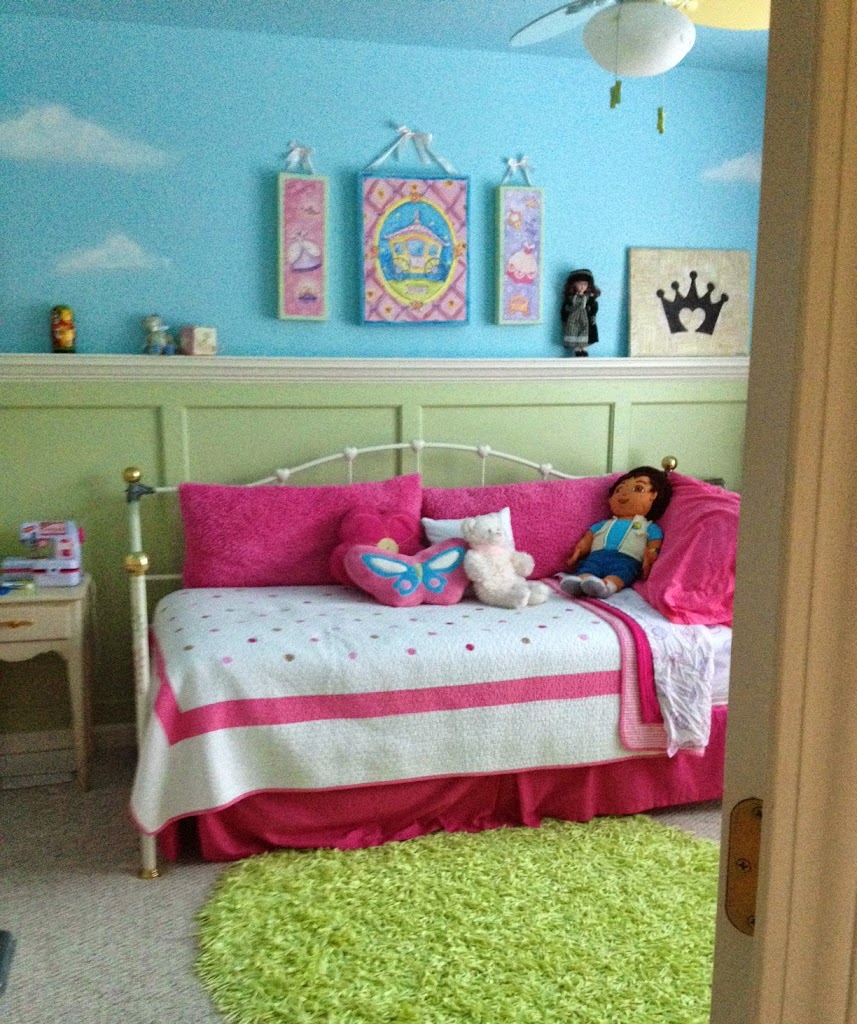
First, remember we switched their rooms. Here was Anthony's old room which is now Adrianna's.
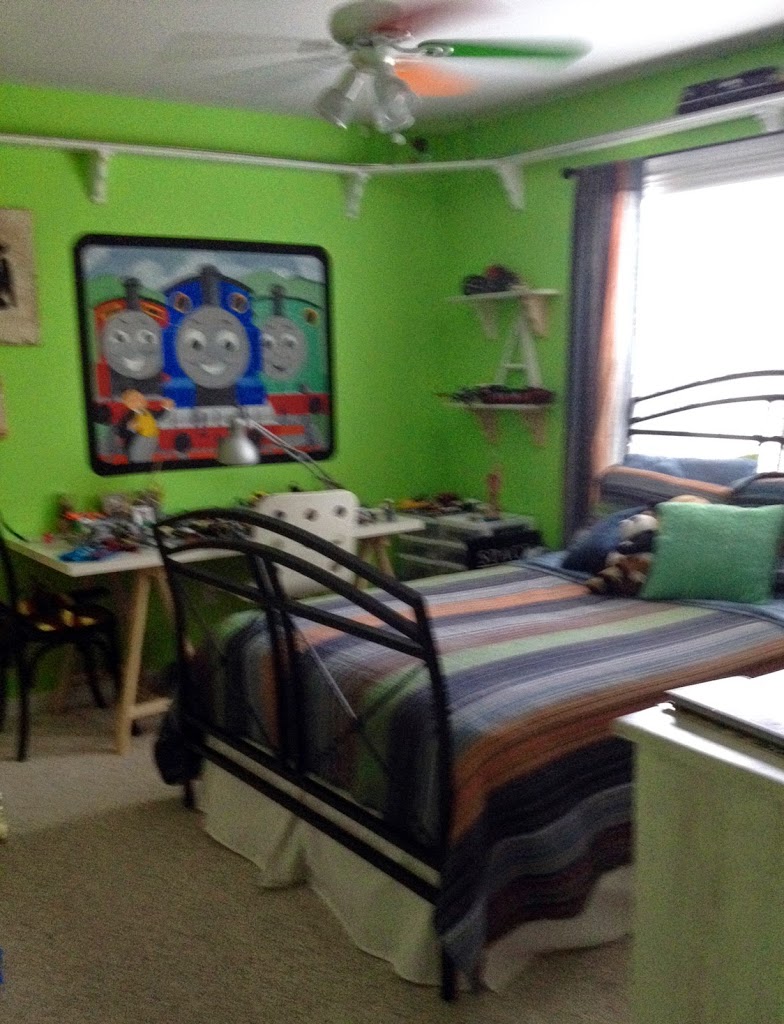
This room would now become his room. Watch as we transform this princess room into a young boy's room.
The whole family got involved!


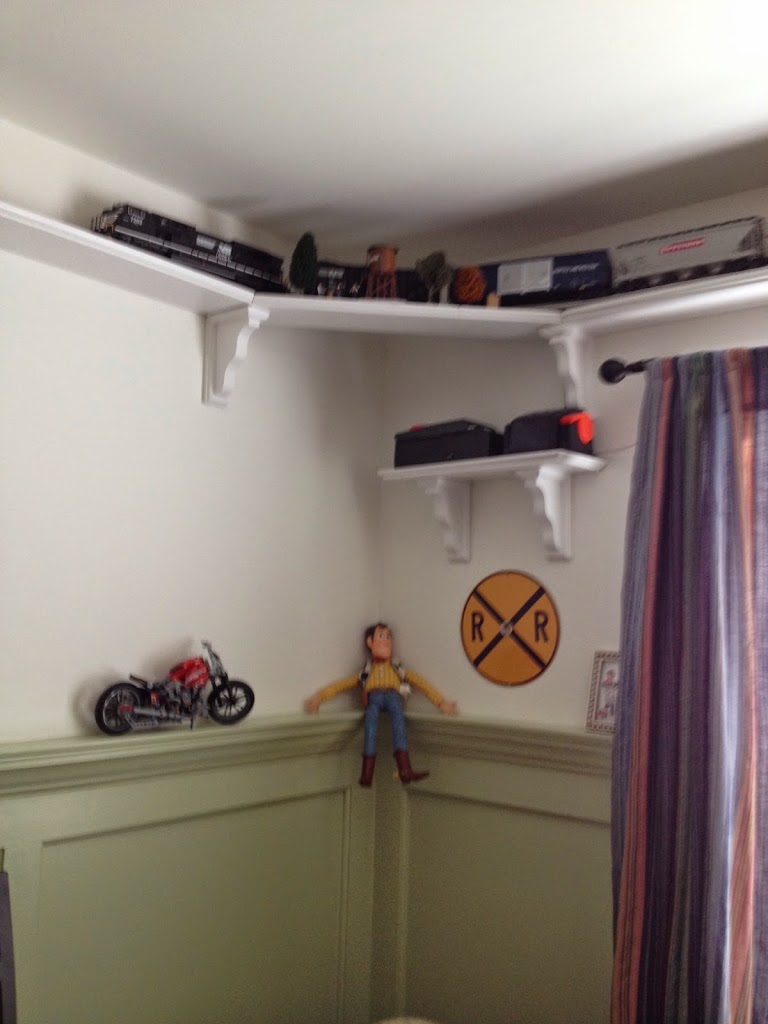
Remember the train that was in his room? Well that had to be moved, which was no easy job!

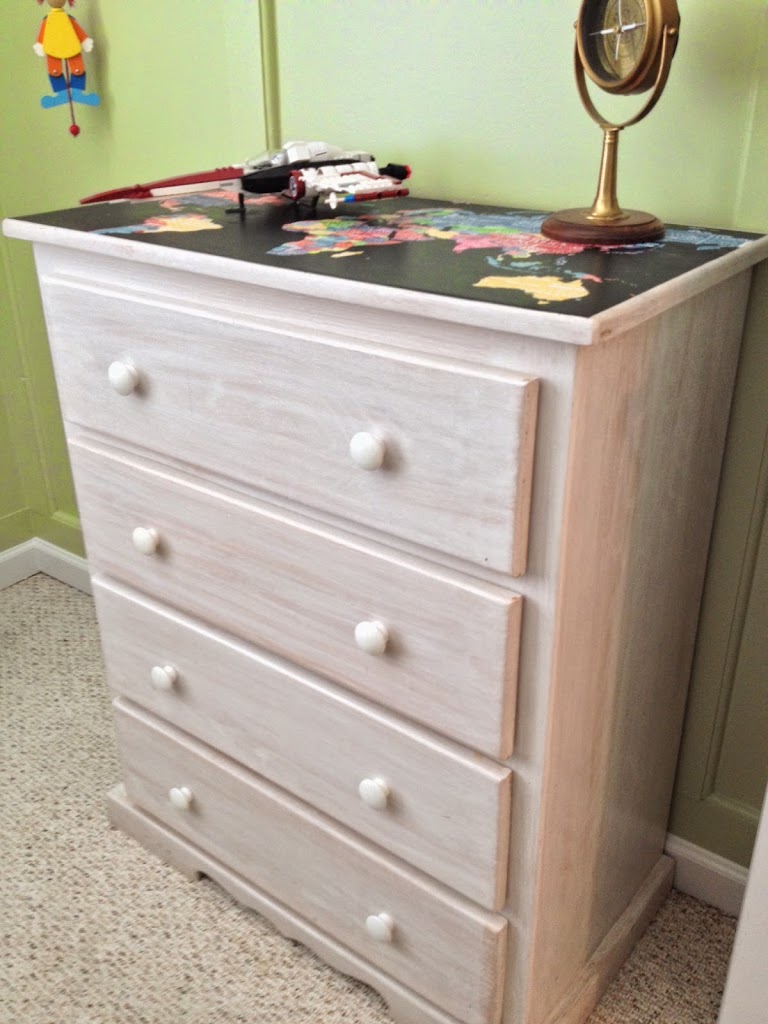
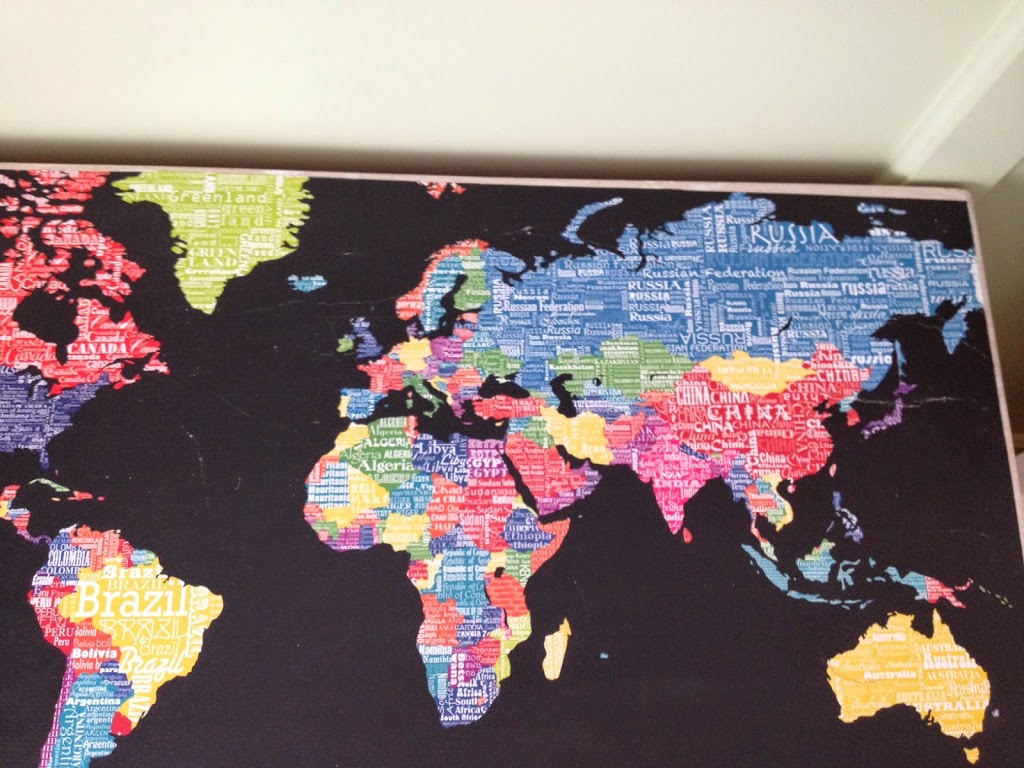
Since Anthony loves maps these days, I decided to cover the top of his chest with a map that I found at Hobby Lobby. I cut the map to size using a T-square and an x acto knife. Make sure you cut on a piece of heavy cardboard or self-healing board if you have one and not on your furniture or floor. Then using a chip brush and watered down Elmer's glue, I attached the map. Be sure to cover the whole map top and bottom! Try to get all the bubbles out but don't be too rough or the map will tear. After the top dried thoroughly (the next day) I went over the whole top with a satin varnish and voila the dresser is done. He loves it! What do you think?

Here is Anthony's Lego desk. It's an easy project idea using rolling storage drawers and a slab of wood.

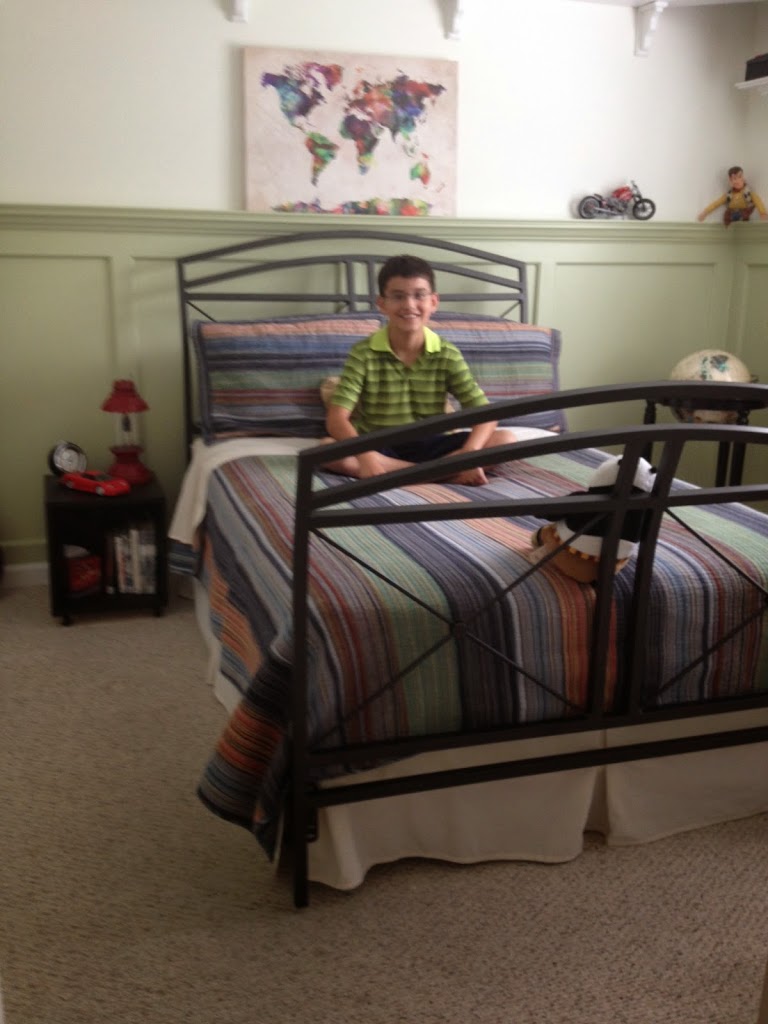
Finally the finished room and a very happy boy!
Until next time...
Thanks for stopping by,
